Sell Lemons map and locations
Sell Lemons Map Guide: Areas, Locations, and Unlock Route
Learn how the town, desert, sewer, UFO path, and late-game progression areas connect, what to finish before leaving each zone, and which landmark brings you back when the game gives you no clear waypoint.
- Best first landmarkLemon stand and town center
- First puzzle areaSewer route
- Late-game directionEvolution and ascension

Quick orientation
How the Sell Lemons map works
The Sell Lemons map is easier to understand as a progression route than as one flat overhead map. You begin around the lemon-selling town, use nearby upgrade and money landmarks to build your first loop, then branch into key puzzles, the sewer, alien or UFO objectives, and reset-based systems. Some places are visible before they are useful, so seeing a doorway does not always mean your current run is ready for it.
Use the town center as your home position. Before walking to a distant area, decide whether the trip is for income, a key, a badge, an evolution requirement, or a reset. That single decision prevents the most common map mistake: wandering into a late-game zone without the required item and then returning with no progress.
This guide separates confirmed landmarks from update-sensitive details. Names, costs, doors, teleports, and quest order may move when the developer updates the experience. If a landmark is missing, rejoin a fresh server and verify the official game page before assuming your save is broken.
Area directory
Sell Lemons map areas and what each one is for
Treat these as functional zones. The visual boundaries may be loose, but the purpose of each stop is stable enough to plan a run.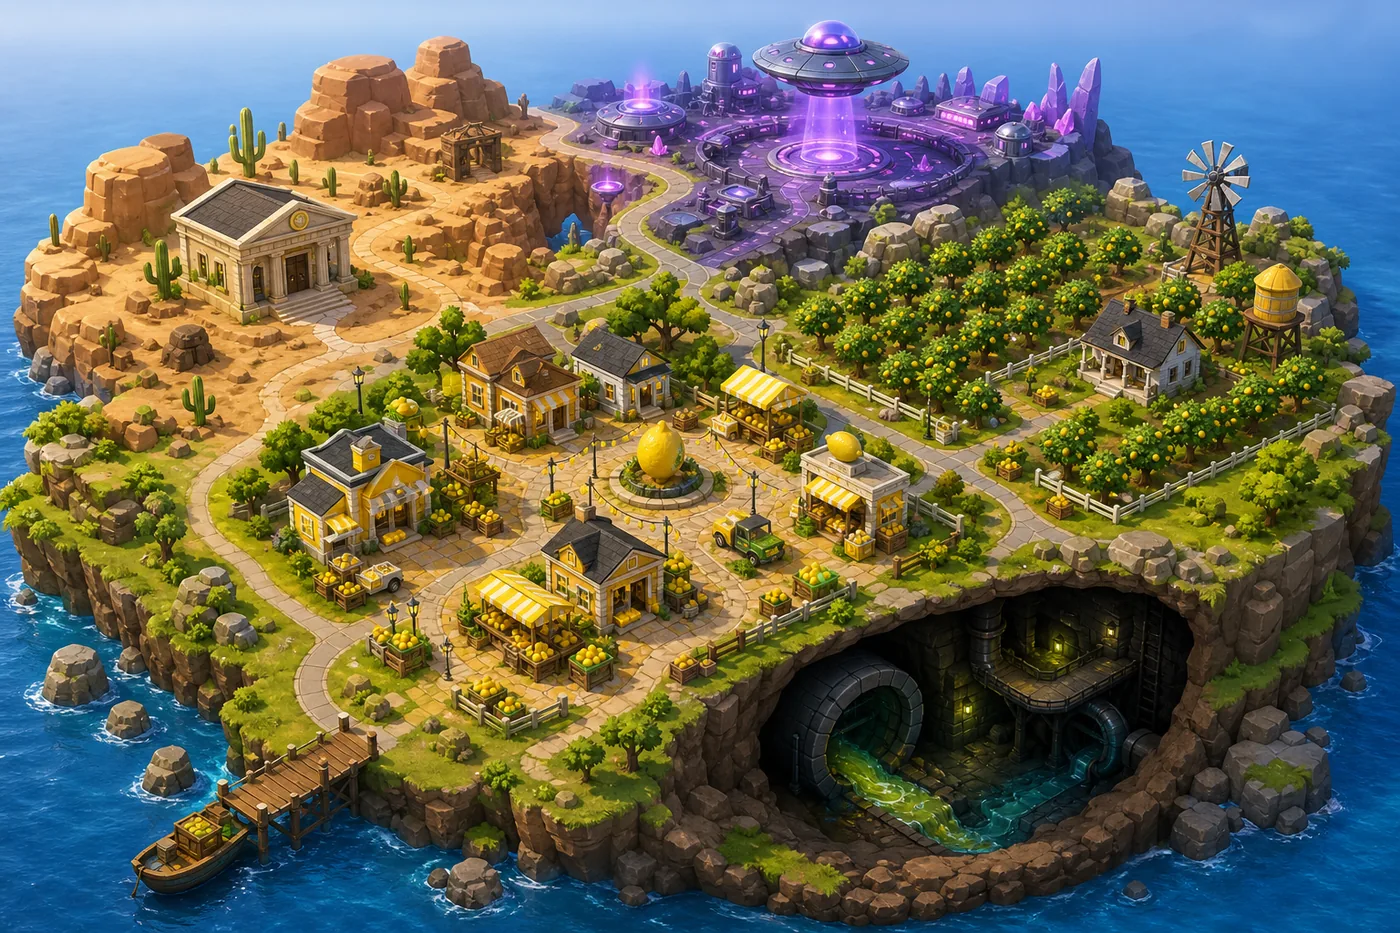
| Area | When to visit | What to look for | Main purpose |
|---|---|---|---|
| Town and lemon stand | Immediately | Selling point, nearby buildings, short roads | Earn cash, learn the basic loop, and return after every unfamiliar trip. |
| Upgrade and investor buildings | Early run | Purchase panels, bank-like buildings, upgrade prompts | Convert earnings into production, movement, or run efficiency instead of carrying idle cash. |
| Desert or outer route | After the first stable income loop | Sand, rocks, wider roads, isolated structures | Reach secondary landmarks and transition toward puzzle or key content. |
| Sewer entrance and maze | After the required button, lever, or key setup | Drain opening, blue button, levers, dark corridors | Complete the sewer sequence and secure the prerequisite for later alien or UFO progress. |
| Alien and UFO route | After sewer progress is confirmed | Alien character, handoff point, UFO or purple effects | Continue the Good Samaritan or UFO key chain without repeating the sewer unnecessarily. |
| Evolution route | After the required fruit progression | Evolution menu, fruit checkpoints, reset confirmation | Trade current progress for the next fruit tier and a stronger long-term multiplier. |
| Ascension route | Late game, after rebirth and evolution systems matter | High-cost prompt or late progression control | Make a larger reset decision only when the next run gain justifies losing current momentum. |
Recommended route
A practical map route from spawn to late game
Follow objectives, not scenery. Finish the job of one zone before crossing the map for the next one.1. Anchor yourself at the town loop
Identify the lemon stand, the selling point, and the nearest upgrade building. Run one complete earn-sell-upgrade loop so you know where to return after exploring. If you cannot retrace this short loop, do not start a key puzzle yet.
2. Buy only the upgrades that shorten travel or production
Use the powers and upgrade screens to remove repetitive walking or weak production. Remote Buy can be valuable when it replaces repeated map crossings, but it should not consume cash needed for the next important unlock.
3. Start the sewer route with every prerequisite ready
Check the blue button, lever sequence, key state, and any required interaction before entering the maze. Taking screenshots or noting turns is safer than relying on memory because dark corridors and repeated shapes can make the route feel circular.
4. Confirm the sewer reward before leaving
Do not assume the puzzle counted because a door opened. Check the expected key, badge, prompt, or quest state. This avoids walking to the alien area only to discover that one lever or handoff never registered.
5. Continue to the alien or UFO handoff
After the sewer prerequisite is visible, follow the alien interaction and verify the Good Samaritan or UFO-related state. Community guides can help with orientation, but the in-game prompt is the final authority for your current server.
6. Return to progression systems before resetting
Once keys and map objectives are complete, compare rebirth, evolution, and ascension value. A reset is not a navigation shortcut. Reset only when the permanent gain is worth rebuilding the route and current cash flow.
Navigation method
Landmarks that help when there is no minimap
Use large visual anchors and objective state together. A familiar building is useful only if it points toward the task you need next.The lemon stand is your home marker
When a route becomes confusing, return to the sell loop and restart from a known direction. This is faster than guessing from an unfamiliar edge of the map.
The bank or upgrade building marks the economy side
Use it to separate earning routes from puzzle routes. If you keep reaching money controls while looking for a key, you are circling the wrong side of the town.
The sewer opening marks the puzzle branch
Prepare before entering. The route is more reliable when you arrive with the correct button, lever, and key expectations instead of testing every object blindly.
Purple light and UFO shapes mark the alien branch
These landmarks belong later in the route. If the alien interaction does nothing, check sewer completion rather than searching the area for a hidden replacement trigger.
Menus are progression landmarks too
Evolution and ascension are often reached through controls rather than a long physical walk. Map planning includes knowing which screen changes the run and what that change will reset.
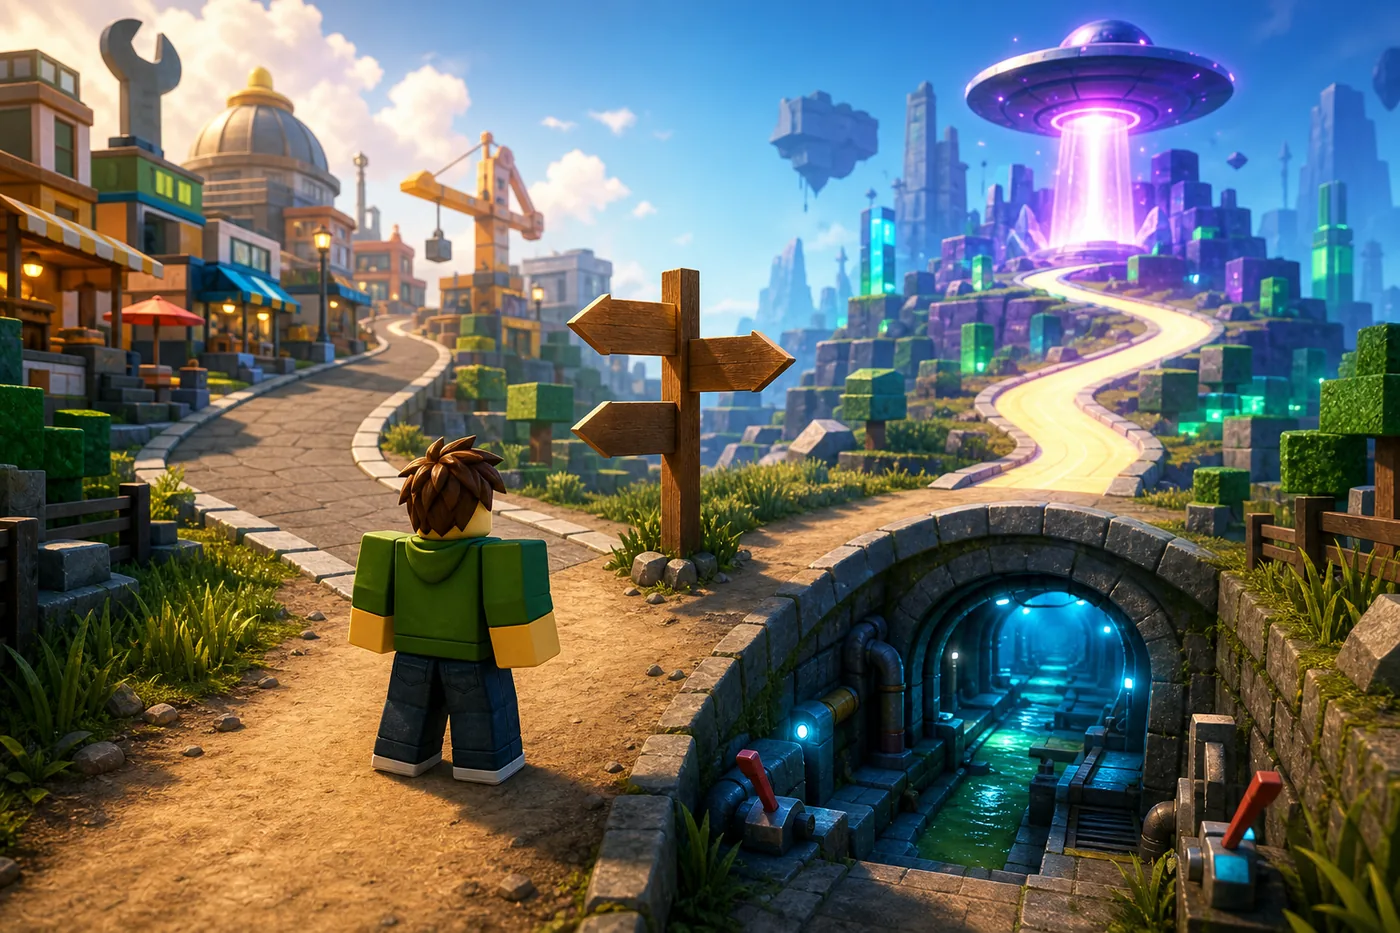
Fast travel without wasted trips
How to move around the map efficiently
Efficient movement is mostly preparation. Check your cash, required key, current badge, and reset goal before leaving the town loop. If two tasks are on the same side of the map, complete them together; if one task can reset the run, finish all non-reset objectives first.
Do not treat server hopping as normal travel. Rejoin only when an interaction appears stuck, a door fails to load, or the current server clearly does not match the official version. After rejoining, verify your inventory and quest state before repeating a long route.
| Situation | Efficient move | Check before leaving |
|---|---|---|
| Need more income | Stay near town and repeat the shortest sell-upgrade loop | Next upgrade cost and whether Remote Buy saves meaningful time |
| Starting the sewer | Go directly from the prepared button or lever state to the entrance | Key state, lever order, and a way to record maze turns |
| Going to the UFO route | Travel only after the sewer reward or badge is confirmed | Alien interaction state and expected handoff |
| Considering evolution | Finish map errands, then open the evolution route | Required fruit, multiplier gain, and reset losses |
| Considering ascension | Pause travel and compare the next-run benefit | What resets, what remains, and whether the current run still has unfinished value |
Troubleshooting
Why a Sell Lemons location may seem missing
Most map problems are progression-state problems, not hidden entrances.You reached the area too early
A landmark can be visible before its interaction becomes active. Return to the previous objective and confirm the required key, badge, fruit, or reset state.
A server is using a different update state
Rejoin a fresh server and compare the official Roblox listing. Community screenshots may show an older layout, so use them for orientation rather than exact coordinates.
The puzzle registered only part of the sequence
Recheck the blue button, lever order, door state, and final reward. One missed interaction can make the next zone look broken even though the map loaded correctly.
You reset before finishing map objectives
Rebirth, evolution, or ascension may force you to rebuild access. Complete one-time keys, badges, and useful errands before accepting a reset prompt.
You followed scenery instead of objective evidence
Bright effects and distant structures are not proof that a route is ready. Let inventory, quest text, and visible prompts decide where you go next.
Source notes
What this map guide is based on
The official game listing is the authority for access and updates. Community wiki pages are useful for landmarks and puzzle orientation, but can lag behind the live experience.
- Official Sell Lemons Roblox game page — official play page and current experience status
- Sell Lemons community Map & Locations page — community-maintained area and location reference
- Sell Lemons community sewer map page — community maze orientation; not an official developer map
Continue the route
Open the detailed guide for your next objective
The map page tells you where each branch belongs. Use the focused guides for puzzle order, reset tradeoffs, and unlock checks.
- Sewer branch
- Follow the sewer key route
- Alien branch
- Check the UFO key handoff
- Reset decision
- Plan the next rebirth
- Fruit progression
- Review evolution requirements
Map FAQ